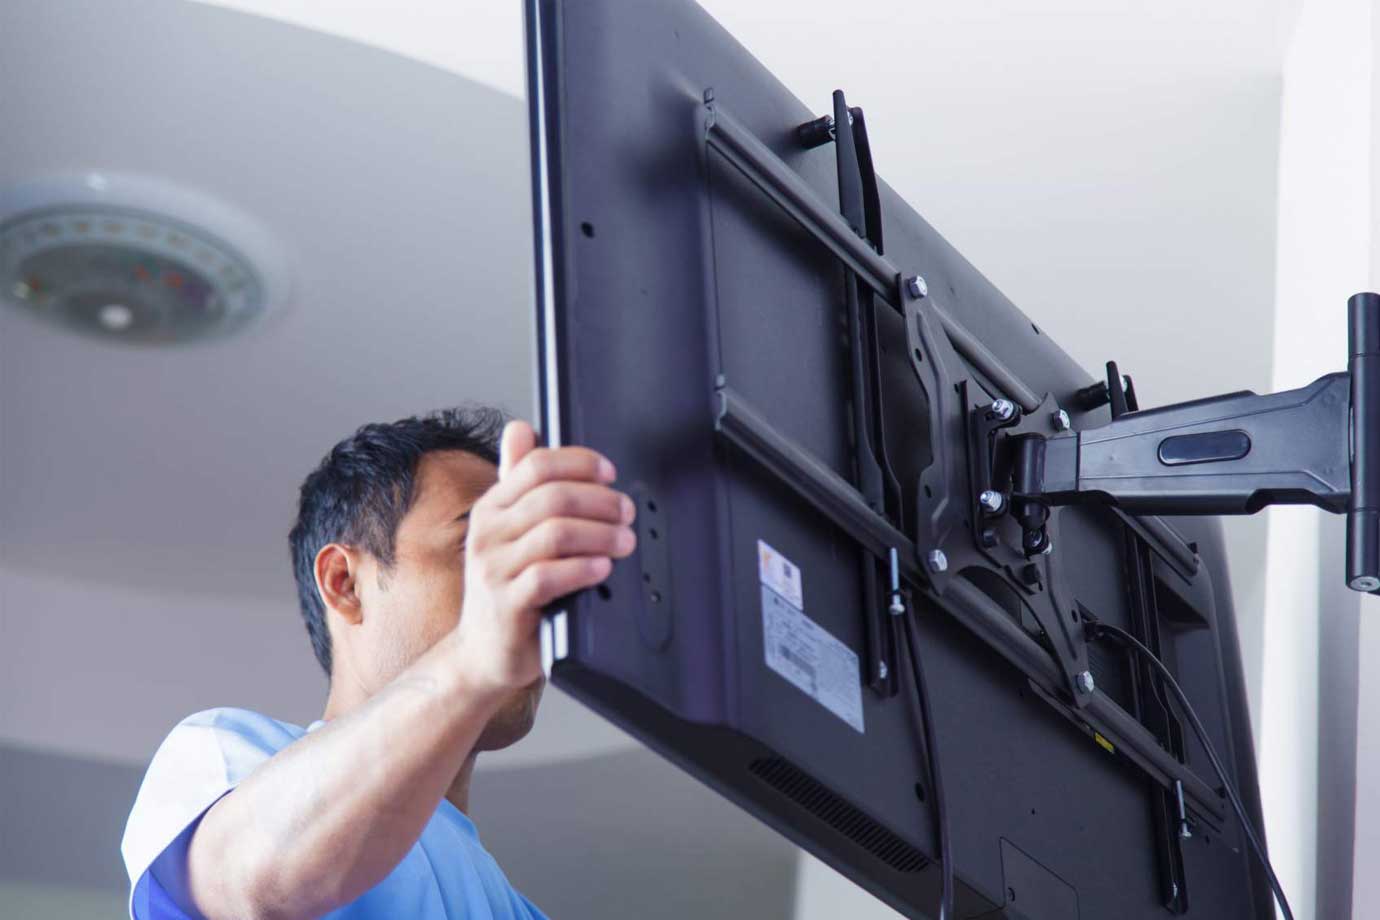
DIY TV Mounting: A Step-by-Step Guide
Are you ready to take your home entertainment to the next level? Mounting your TV on the wall not only enhances your viewing experience but also saves valuable space.
If you’re up for a DIY project, we’ve got you covered with this comprehensive step-by-step guide to DIY TV mounting.
In this article, we will walk you through the process, provide expert tips, and highlight the necessary tools and safety precautions. So, let’s get started!
Step 1: Choose the Right Location
Before you begin the TV mounting process, it’s important to find the perfect spot for your TV. Consider factors such as viewing angle, room layout, and wall structure.
Ideally, the TV should be mounted at eye level and free from glare. Take measurements and mark the desired location on the wall.
Step 2: Gather the Necessary Tools
To ensure a smooth TV mounting process, gather the following tools
Stud finder: This tool helps locate the studs in the wall for secure mounting.
Drill: A drill is needed to make pilot holes and secure the mounting bracket.
Level: Use a level to ensure the TV is mounted straight.
Screwdriver: A screwdriver is necessary for attaching the TV to the mounting bracket.
Measuring tape: Use a measuring tape to ensure accurate placement.
Step 3: Find the Studs and Mark the Mounting Holes
Using a stud finder, locate the studs in the wall. Studs provide the necessary support for a secure TV mount.
Once you’ve found the studs, mark the mounting hole locations on the wall. It’s crucial to align the holes with the studs for stability.
Step 4: Install the Mounting Bracket
Attach the mounting bracket to the back of your TV according to the manufacturer’s instructions. Make sure the bracket is securely fastened, as it will bear the weight of the TV.
Then, align the bracket with the marked holes on the wall and secure it using the appropriate screws and a drill.
Step 5: Mount the TV
Enlist the help of a friend or family member to assist with lifting and mounting the TV. Carefully lift the TV and align it with the mounting bracket. Gently slide the TV onto the bracket until it locks into place. Double-check that the TV is securely mounted and level using a level.
Step 6: Organize the Cables
To achieve a clean and organized look, it’s essential to properly manage the cables. Use cable management solutions such as cable clips or zip ties to bundle and conceal the cables behind the TV. This will not only improve the aesthetics but also prevent any cable tangles or hazards.
Step 7: Test and Enjoy
Once the TV is securely mounted and the cables are organized, it’s time to test your setup. Connect the necessary cables, such as HDMI or audio cables, and ensure everything is working properly.
Sit back, relax, and enjoy your newly mounted TV!
Safety Precautions
While DIY TV mounting can be a rewarding project, it’s important to prioritize safety.
Here are some safety precautions to keep in mind:
Turn off the power: Before starting any work, ensure the power to the TV and any nearby electrical outlets is turned off.
Use a sturdy ladder: If you need to access high areas, use a stable ladder or step stool to prevent falls.
Follow manufacturer instructions: Always refer to the manufacturer’s instructions for your specific TV and mounting bracket.
Secure the TV properly: Make sure the TV is securely mounted to prevent accidents or damage.
By following these steps and safety precautions, you can successfully mount your TV on the wall and create a clean and immersive entertainment space.
Frequently Asked Questions (FAQs)s
Is it necessary to mount my TV on the wall?
Mounting your TV on the wall offers numerous benefits, including space-saving, improved viewing angles, and a sleek aesthetic.
Do I need professional help with TV mounting?
While DIY TV mounting is possible, it’s important to assess your skills and comfort level. If you’re unsure or uncomfortable with the process, it’s best to seek professional assistance.
Can I mount my TV on any type of wall?
It’s crucial to consider the type of wall and its load-bearing capacity. Some walls may require additional reinforcement or specialized mounting hardware.
What if I don't have the necessary tools?
If you don’t have the required tools, you can consider renting or borrowing them. Alternatively, you can hire a professional TV mounting service that will have the necessary tools and expertise.
How do I handle cable management?
A: Cable management is an important aspect of TV mounting. Use cable clips, zip ties, or cable management sleeves to keep your cables organized and hidden.
Conclusion
DIY TV mounting can be a satisfying and cost-effective way to enhance your home entertainment experience.
By following this step-by-step guide, gathering the necessary tools, and taking safety precautions, you can successfully mount your TV on the wall.
However, if you’re unsure or uncomfortable with the process, it’s always a good idea to seek professional assistance from experts like Long Island TV Mounting Services.
We have a team of experienced professionals who can ensure a seamless and secure TV mounting experience.
So, why wait? Elevate your entertainment space by mounting your TV on the wall with this DIY guide or by reaching out to the professionals at Long Island TV Mounting Services.
Enjoy a clutter-free and immersive viewing experience in the comfort of your own home!
